Simple Technologies for a Complex Problem: Tools for Handwashing Without Running Water
Global Handwashing Day is October 15, 2020, and it comes when messages of handwashing have lept from lessons at home and school to international headlines. To help protect ourselves from COVID-19, one message has been clear for months: frequent handwashing with soap and water for at least 20 seconds is an effective way to help prevent the spread of the virus.
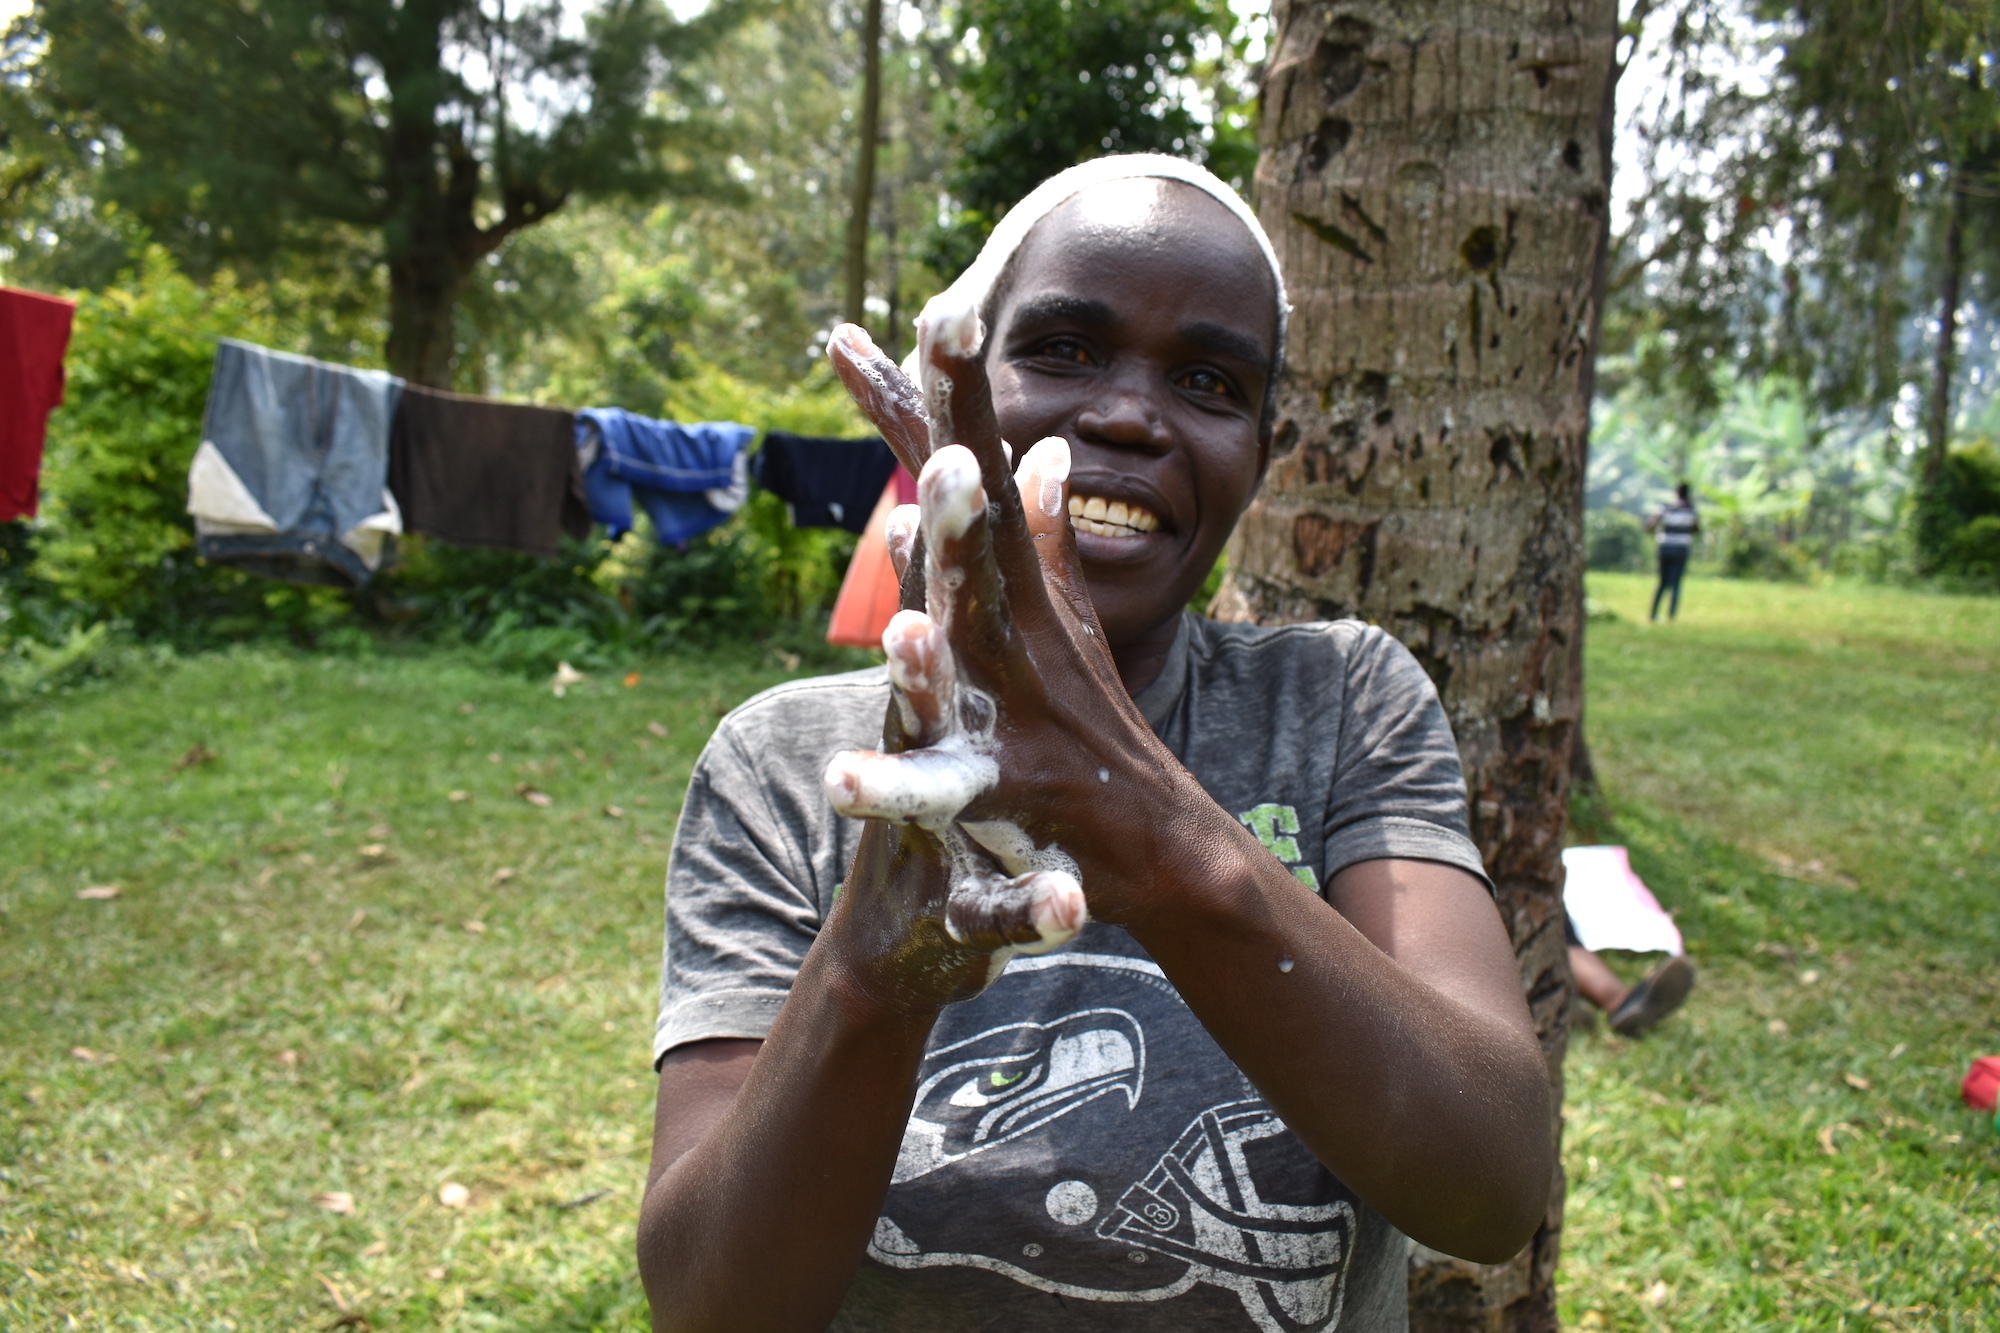
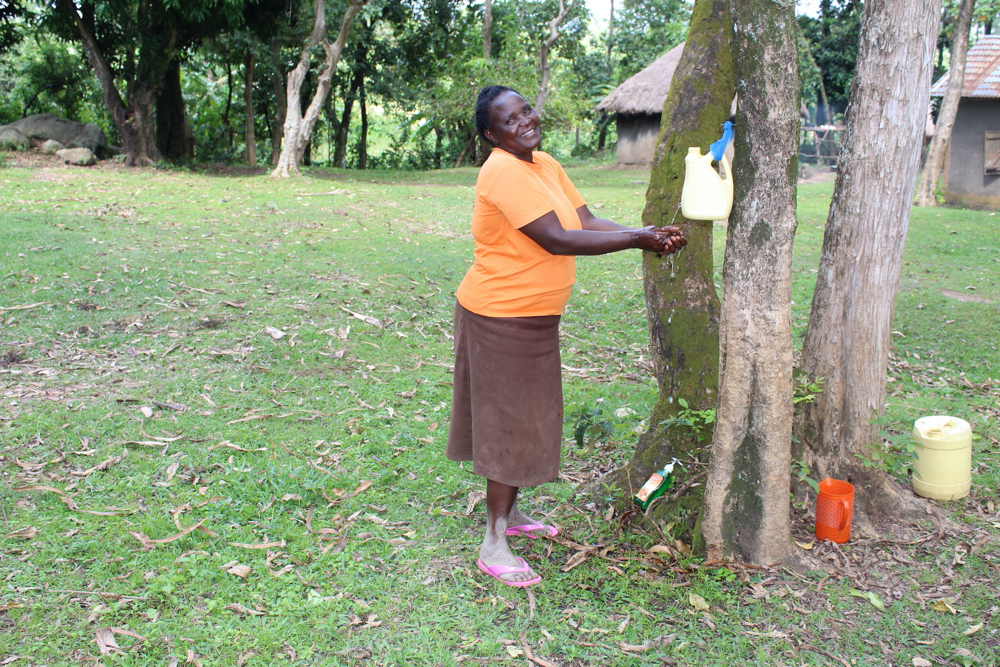
A woman washes her hands at our COVID-19 prevention training in Khumikoche Community, Angango Spring, Kenya.
But how do you wash your hands without running water?
For most of the families we work with across Sierra Leone, Uganda, and Kenya, their daily realities do not include running water available from their homes in the forms of sinks, taps, or standpipes. So, when we began training them on COVID-19 prevention best practices, we were quick to emphasize 2 of the most common and straightforward handwashing tools used around the world for those without running water: tippy taps and leaky tins.

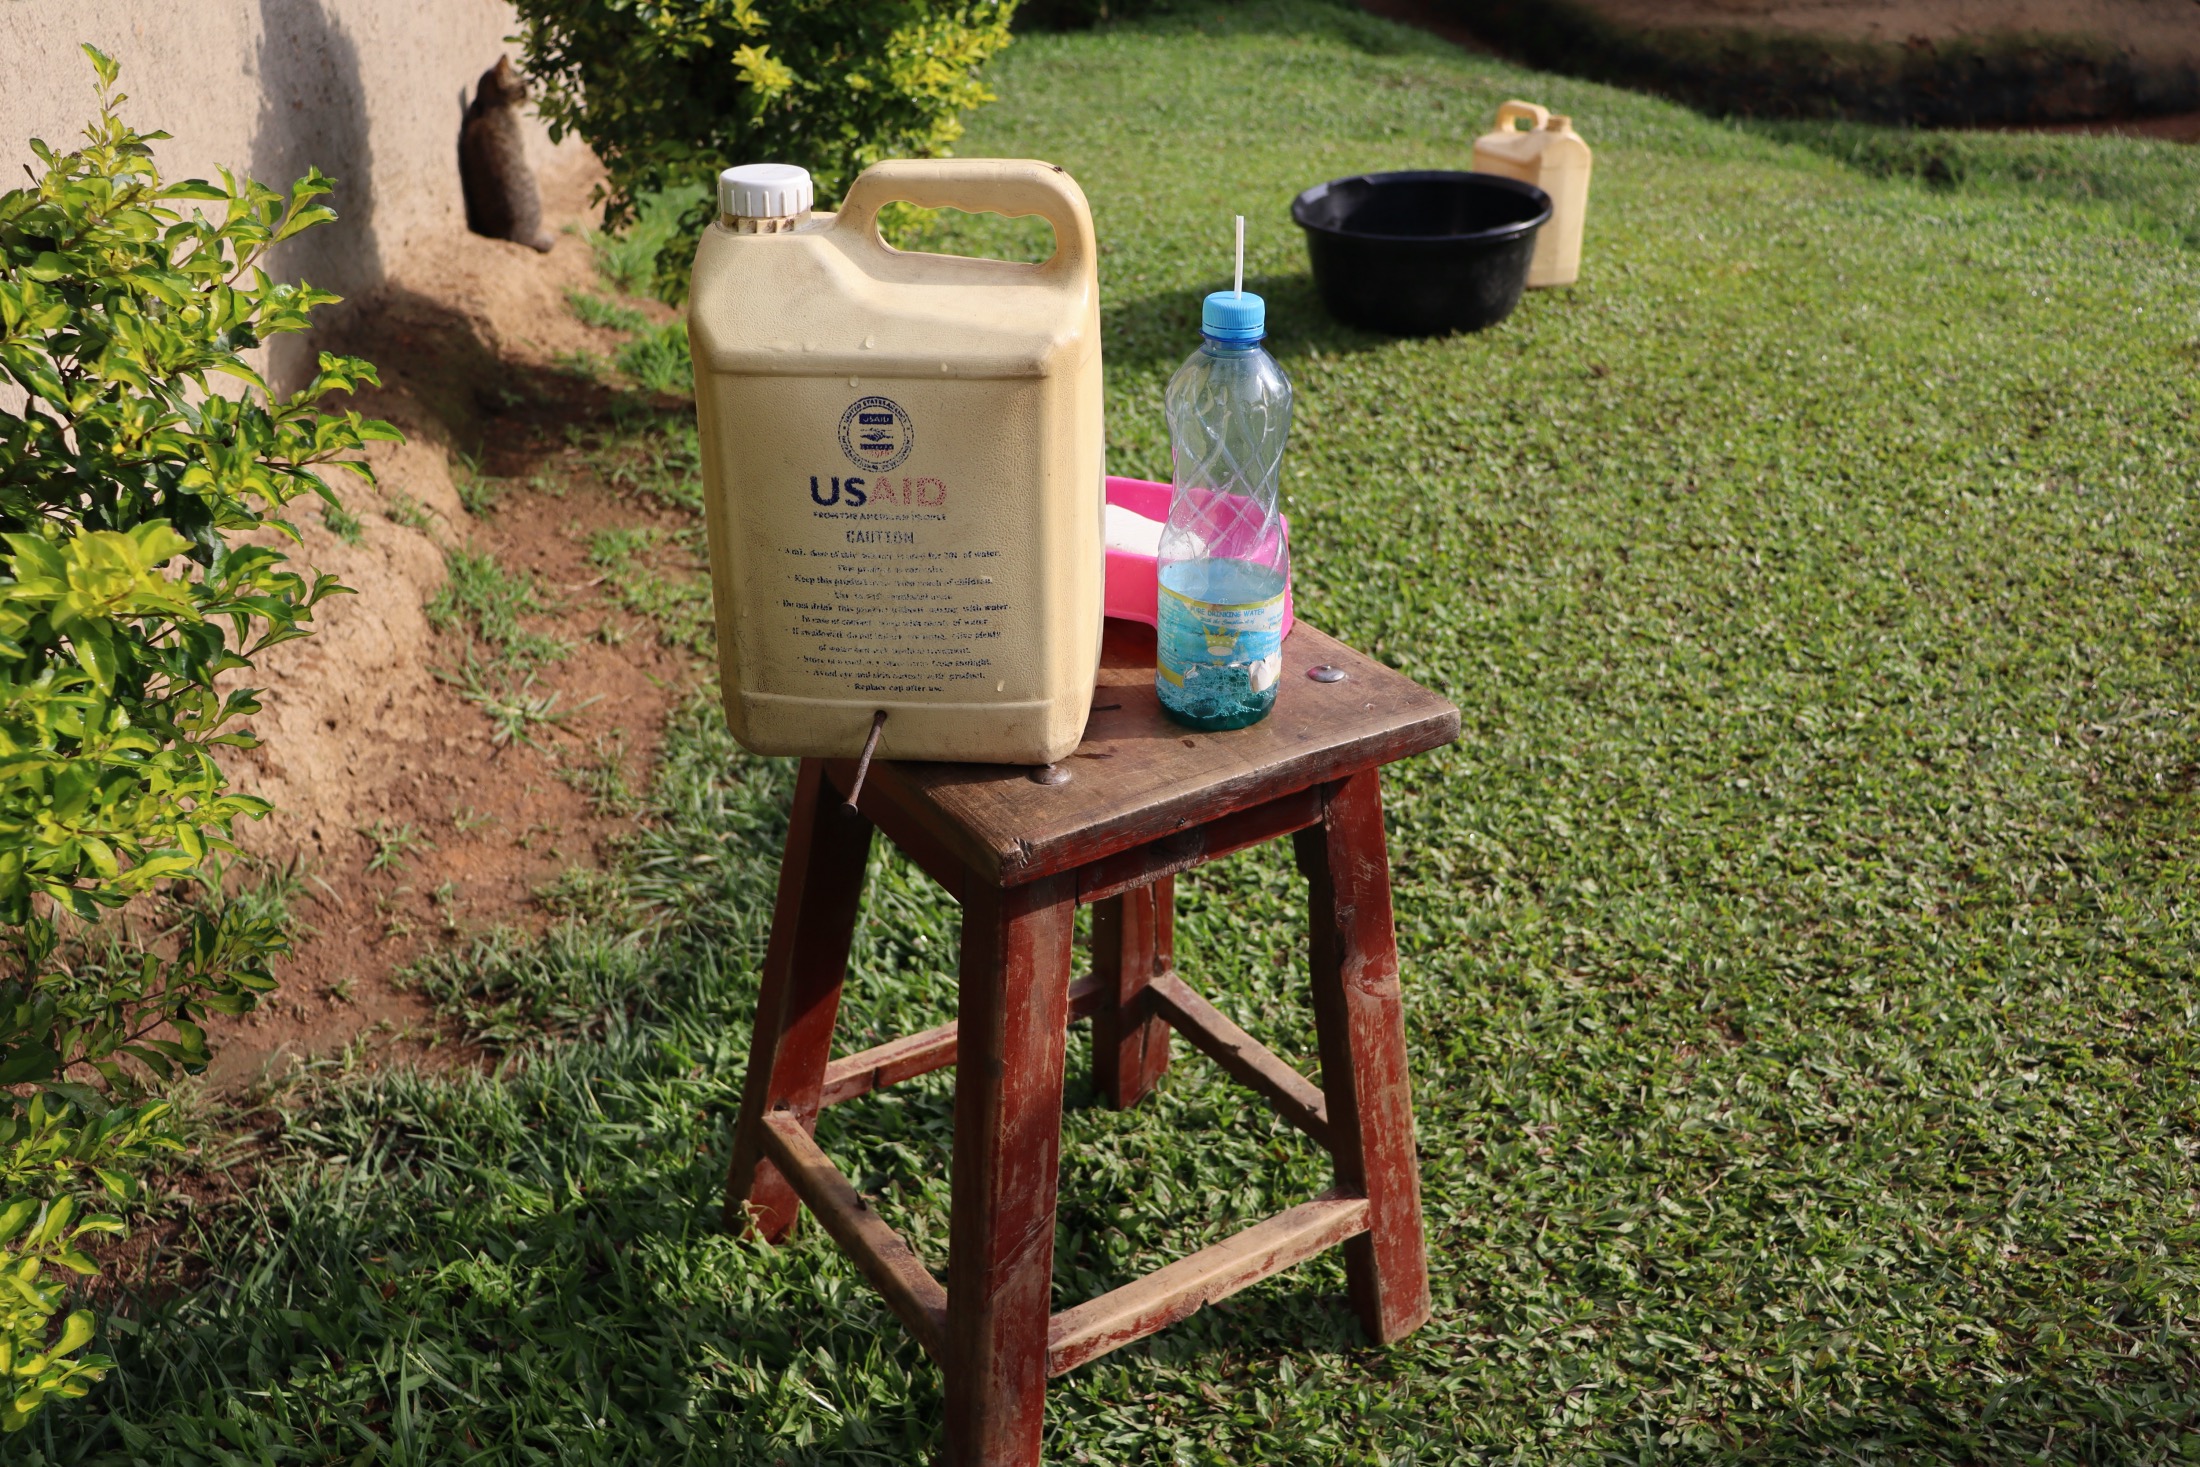
Tippy tap handwashing station in Ngitini Community E, Kenya
It takes just a few household items to quickly and effectively construct both tippy taps and leaky tins. We already included lessons on their construction and use in our pre-pandemic trainings, so this was a perfect time to refresh communities on their handwashing tools and skills.
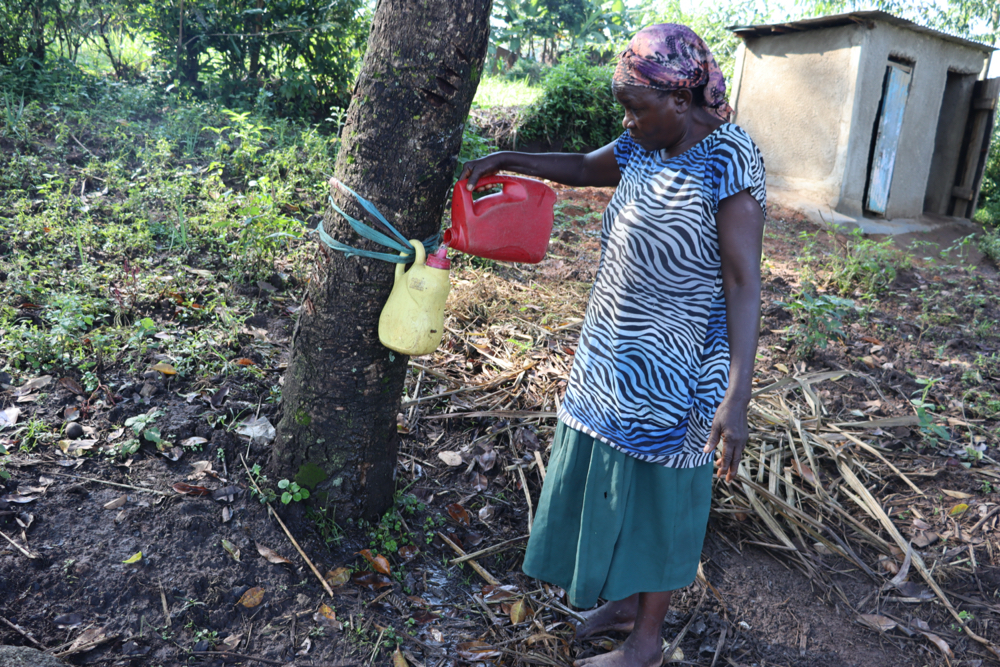
A leaky tin handwashing station in Bweseletse Community, Bweseletse Spring, Kenya
One of the main differences between the tools is that tippy taps provide a touchless handwashing station, meaning there are no parts that need to be turned or adjusted by hand. Instead, a person steps on a lever to pour the water over their hands. Leaky tins are slightly faster than tippy taps to construct and require fewer materials to make.
Pop Quiz!
Can you name the 10 steps of handwashing?
1. Wet your hands and apply soap.
2. Rub your palms together.
3. Rub the back of your hands with the opposite hand.
4. Interlock your fingers and keep scrubbing.
5. Cup your fingers and scrub your cupped palm with the opposite hand.
6. Rub your thumbs all the way around using the opposite hand.
7. Scrub fingertips together to clean under your fingernails.
8. Rub your wrists.
9. Rinse the soap from hands using clean, running water.
10. Dry your hands either in the air or using a clean, dry cloth.
Hygiene and Sanitation Trainer Priscilla Wuya Gegbe from our team in Sierra Leone demonstrates how quick and easy it is to make a tippy tap in this instructional video:
Using tippy taps and leaky tins, people can create flowing water to help rinse their hands more effectively than dipping them into a bowl of water, for example, where suds and germs might linger.
These handwashing tools are also useful even for those who have running water in their homes, but find themselves in settings without it. For example, if you go out for a hike, picnic, or long drive, there may not be a place for you to stop to wash your hands with clean running water. Fortunately, these tools will help your hands stay clean on the go!
In celebration of Global Handwashing Day, we are excited to share a tutorial for making a leaky tin at home that is useful for anyone wanting to wash their hands, from Kenya to the United States. Keep reading to follow along with our expert sanitation and hygiene trainers’ step-by-step guide, straight from their home to yours.
How to Make a Leaky Tin at Home
Here is an example of a few everyday items you might find at home to try making a leaky tin for yourself:
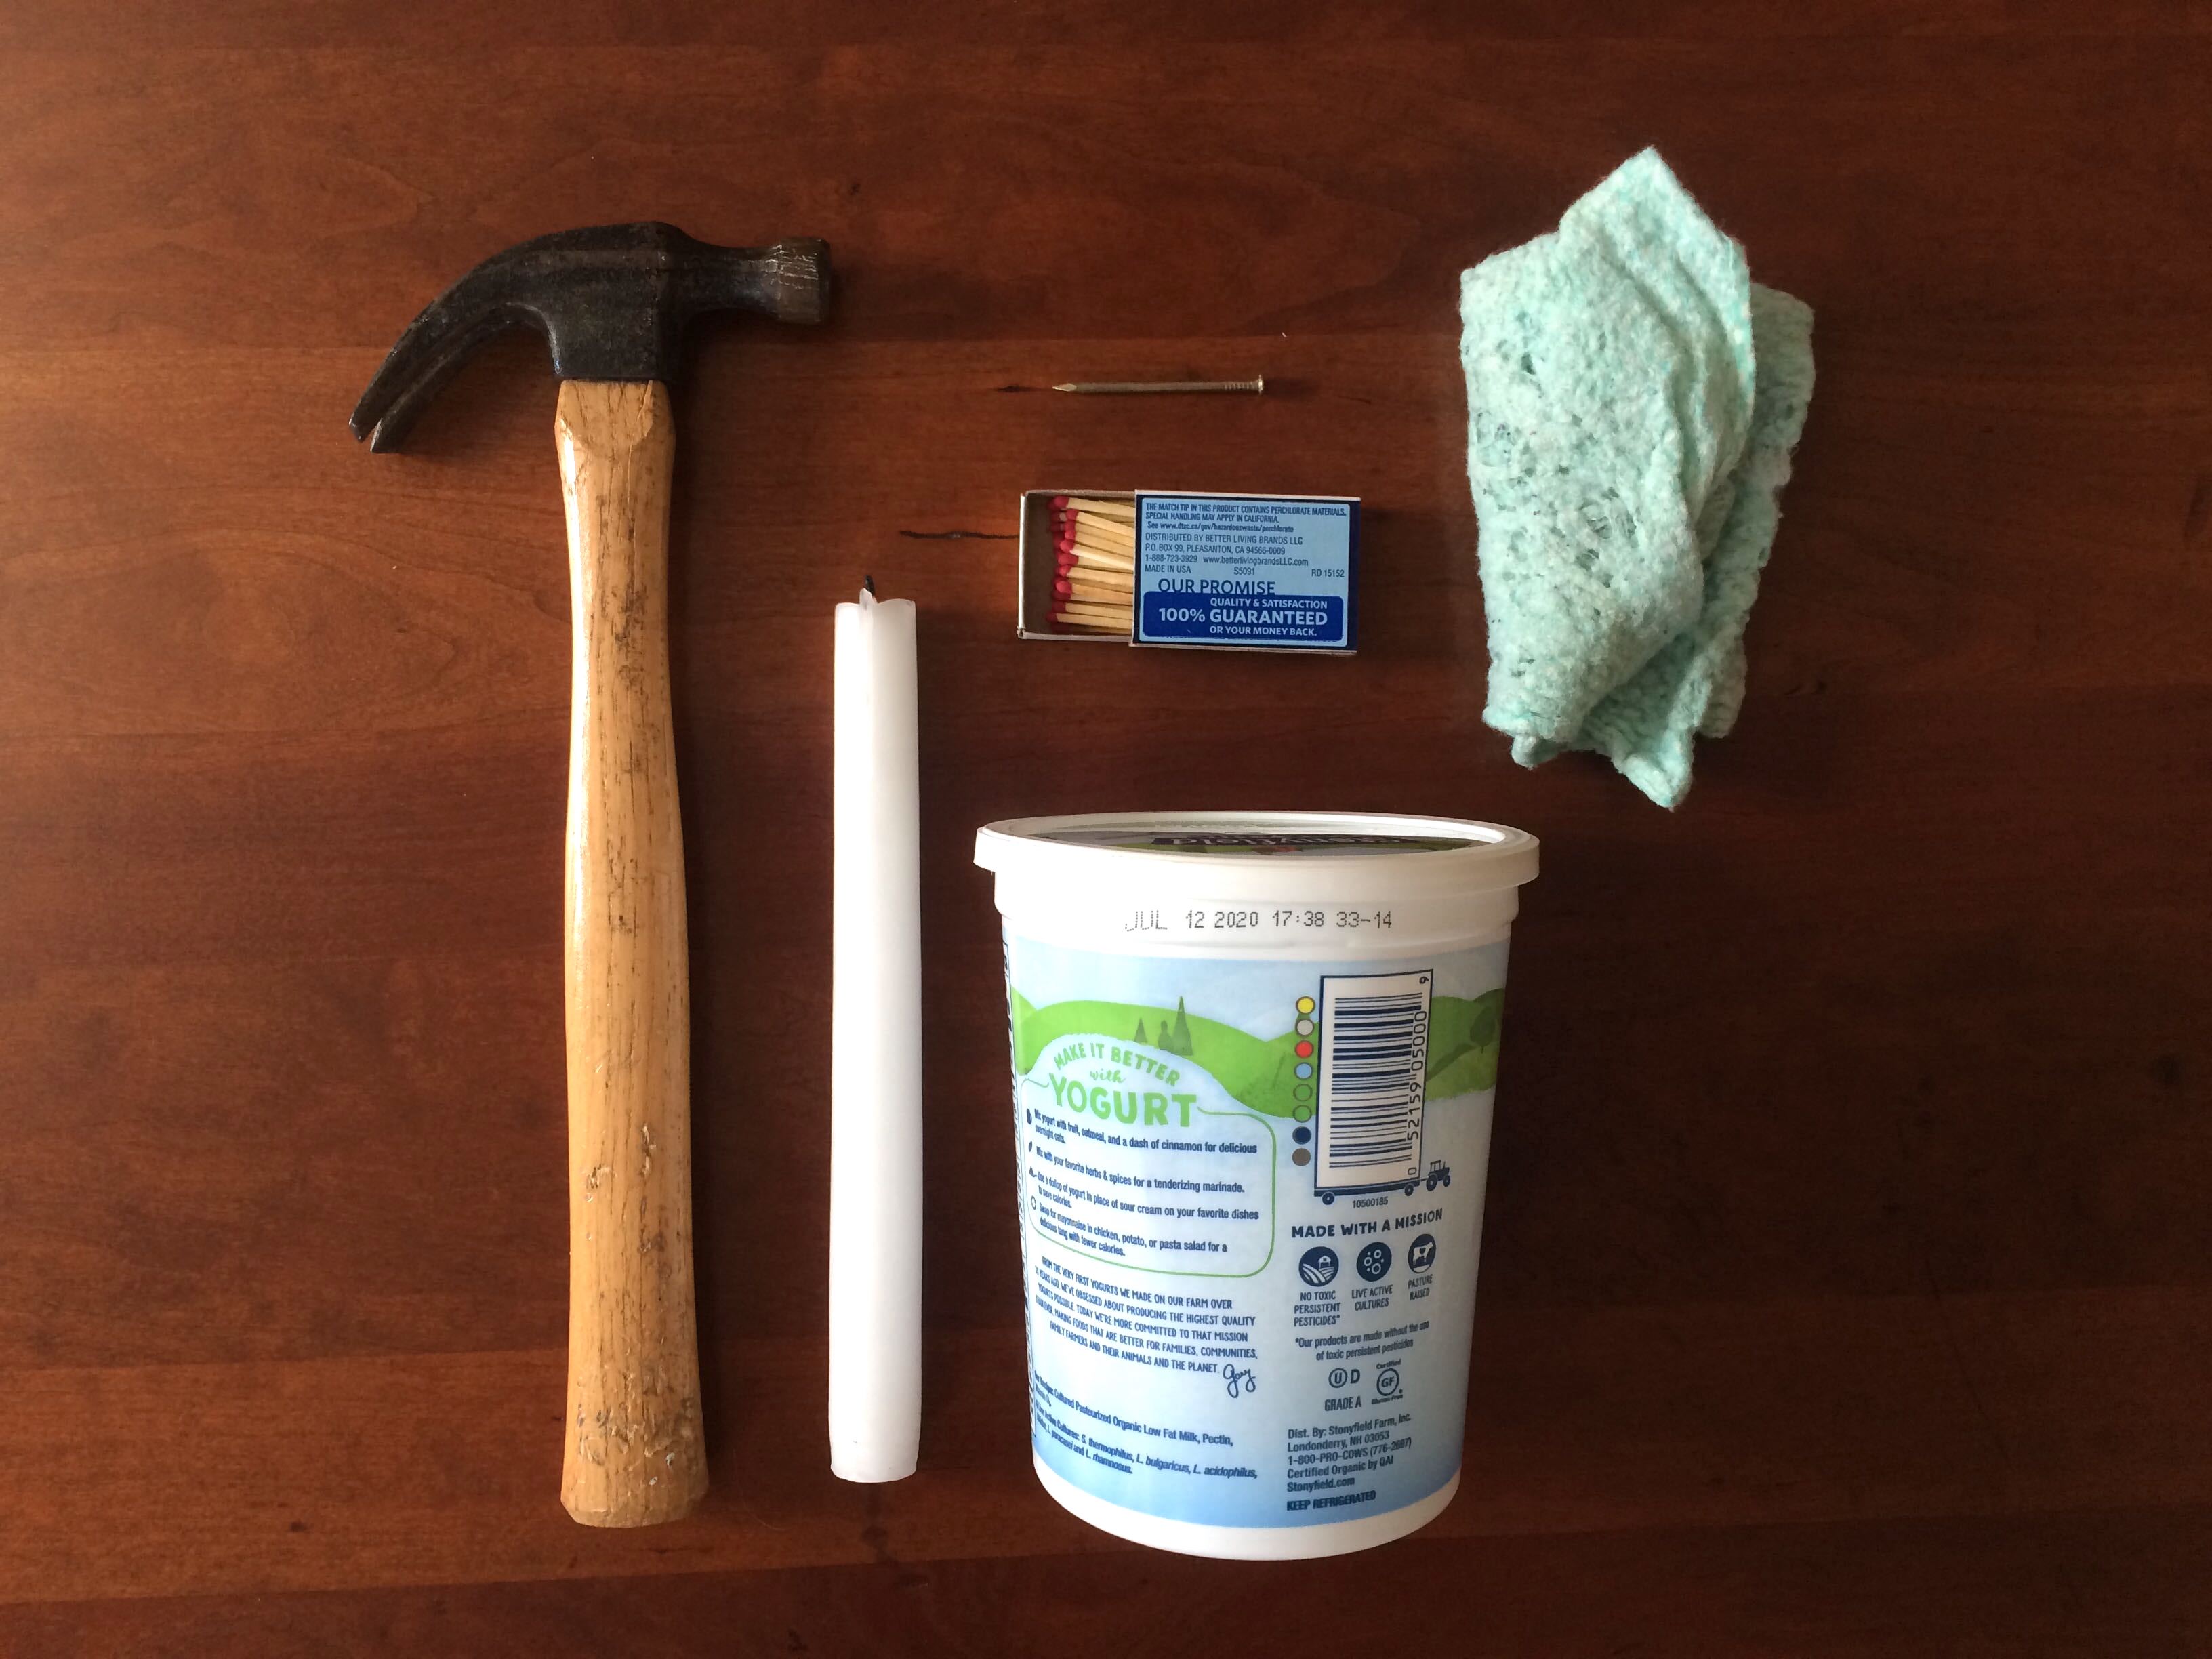
From left to right: hammer, candle, nail, matches, empty yogurt container, rag
The container could be anything watertight you have – an empty milk carton, juice container, or a bucket would all work well. Plastic containers are most comfortable to work with. Make sure it is clean and dry before you begin.
The leaky tin construction process starts similarly to the tippy tap process. First, to push the nail through the container, either heat the nail by holding the tip over a flame for a few seconds or use the hammer to drive the nail. If you heat the nail first, you may be able to simply push it straight through the container without using the hammer. You want the hole to be near the bottom of the container so that water will easily flow from it.
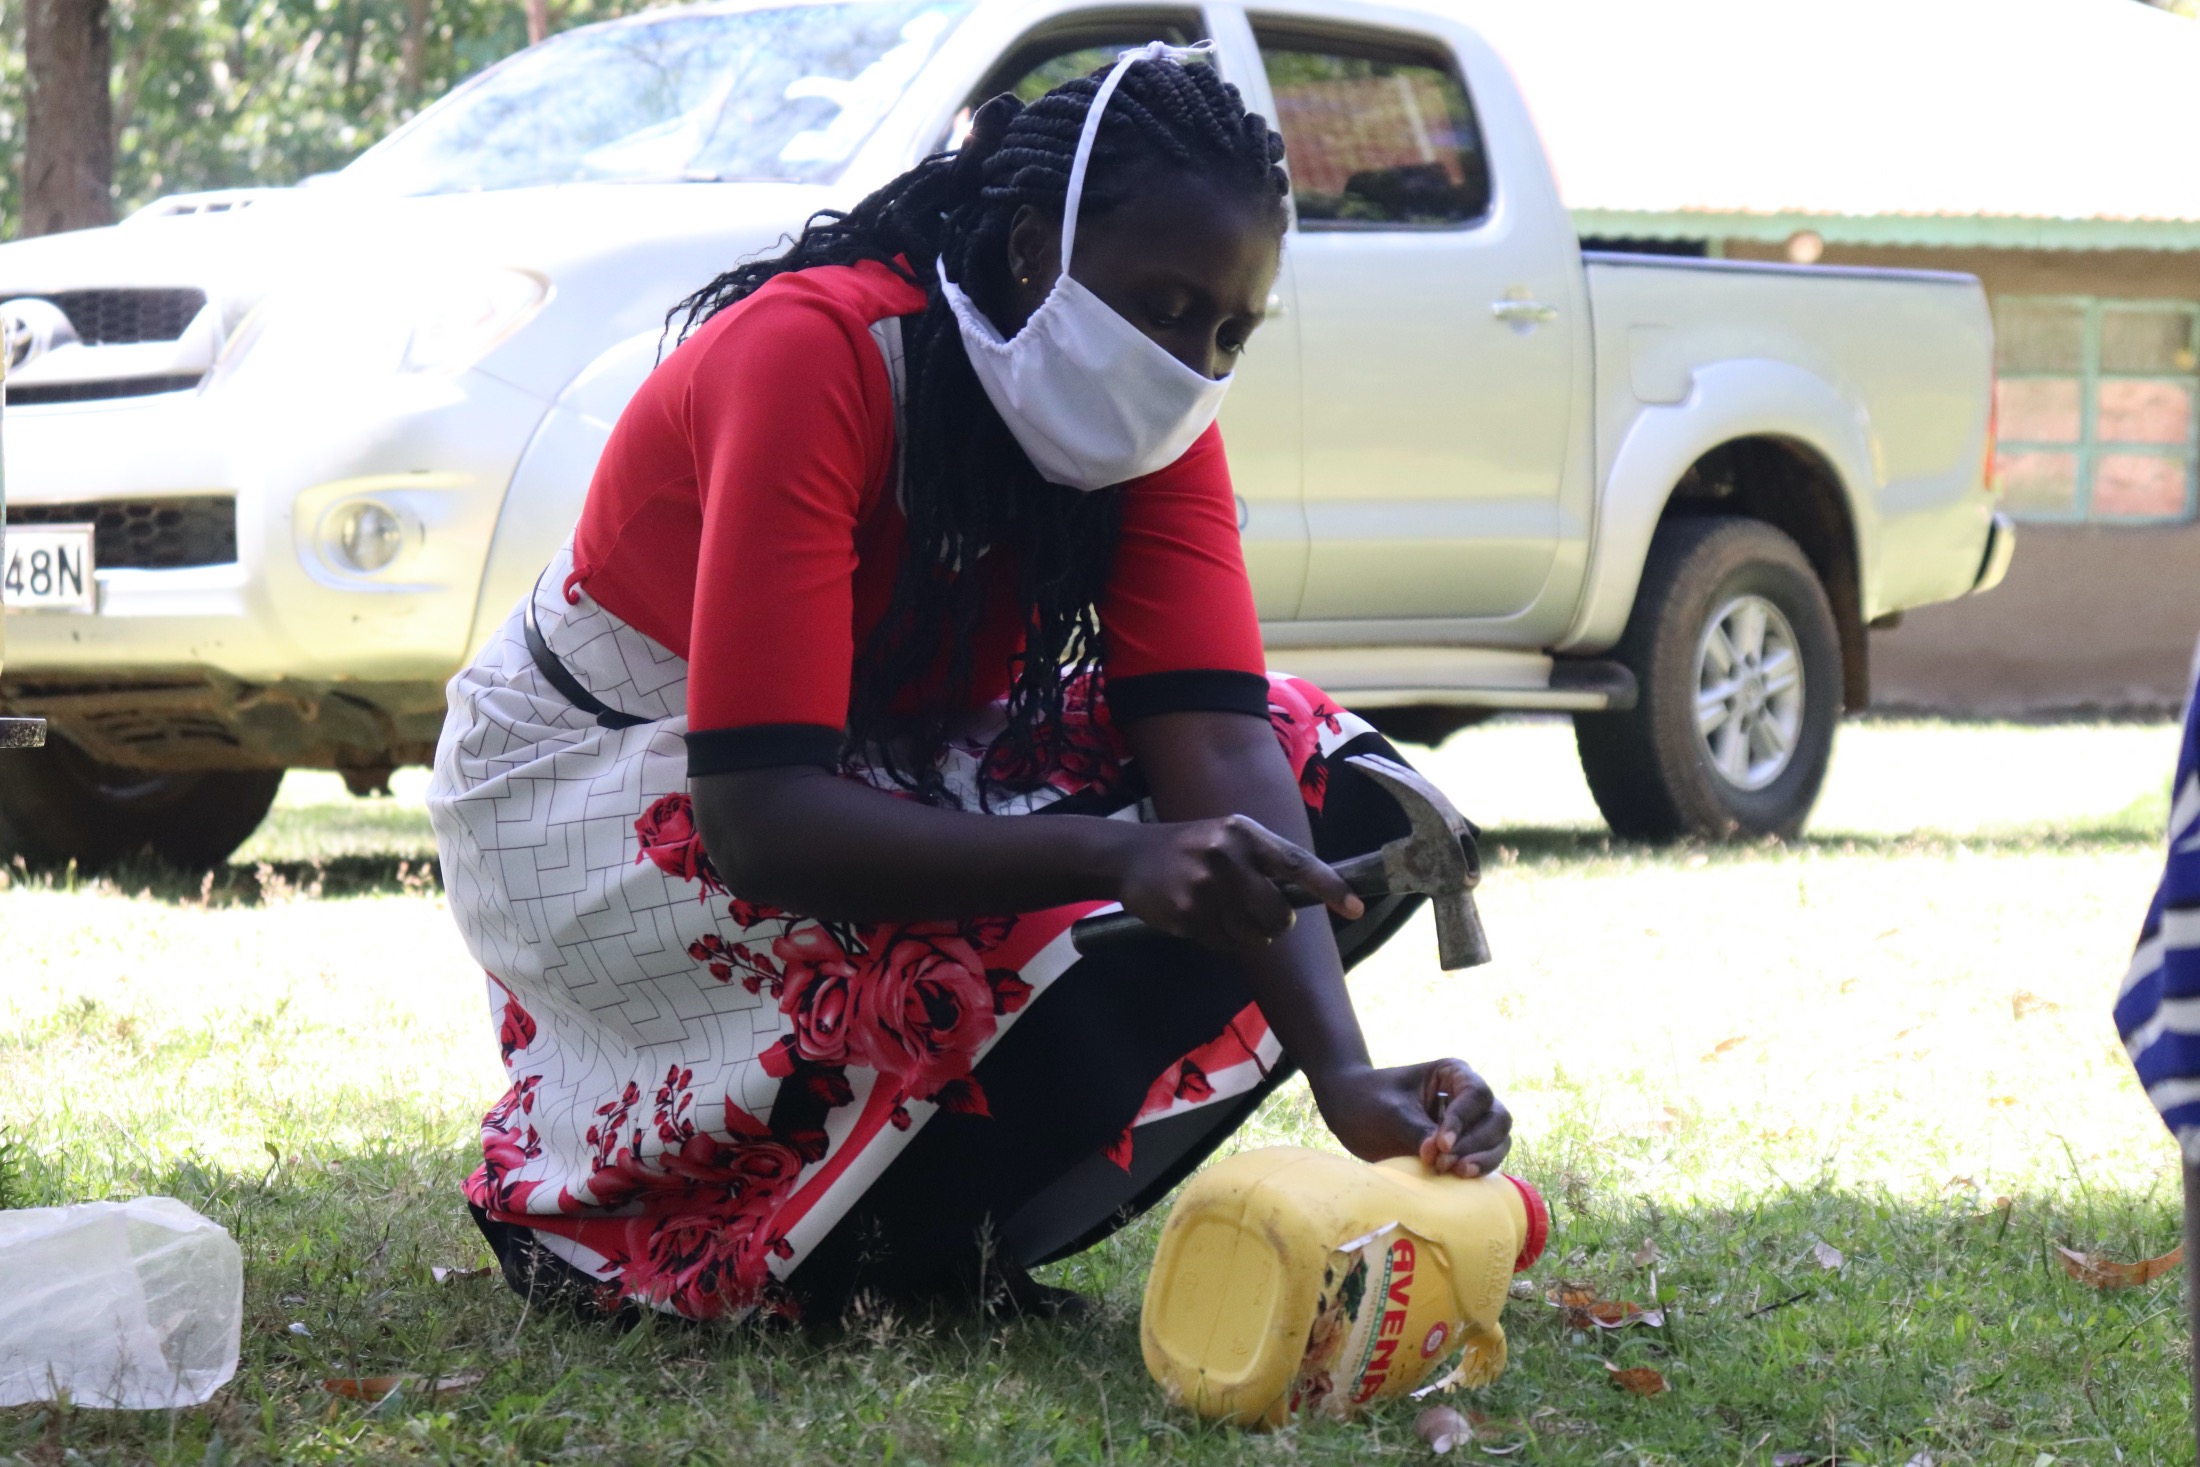
Trainer Shigali demonstrates where to hammer in the nail for a leaky tin at a COVID-19 prevention training in Mukangu Community, Metah Spring, Kenya.
Next, with the nail still in the hole you punched, twist the nail in wide circles to open up the hole a bit. This will help enough water to flow through to be useful, instead of just a trickle. It may be more comfortable to hold the nail using a rag on the end of it while you do this, as Priscilla showed.
Before adding water, consider whether you intend to use the leaky tin now or later. If you want to be prepared for later, flip the leaky tin upside down so that the hole is now near the top. You can fill the container with water and take it to go until needed (containers with caps or lids work best for this option!). Leave the nail plugged into the hole until you are ready to use it, and don’t forget your soap!
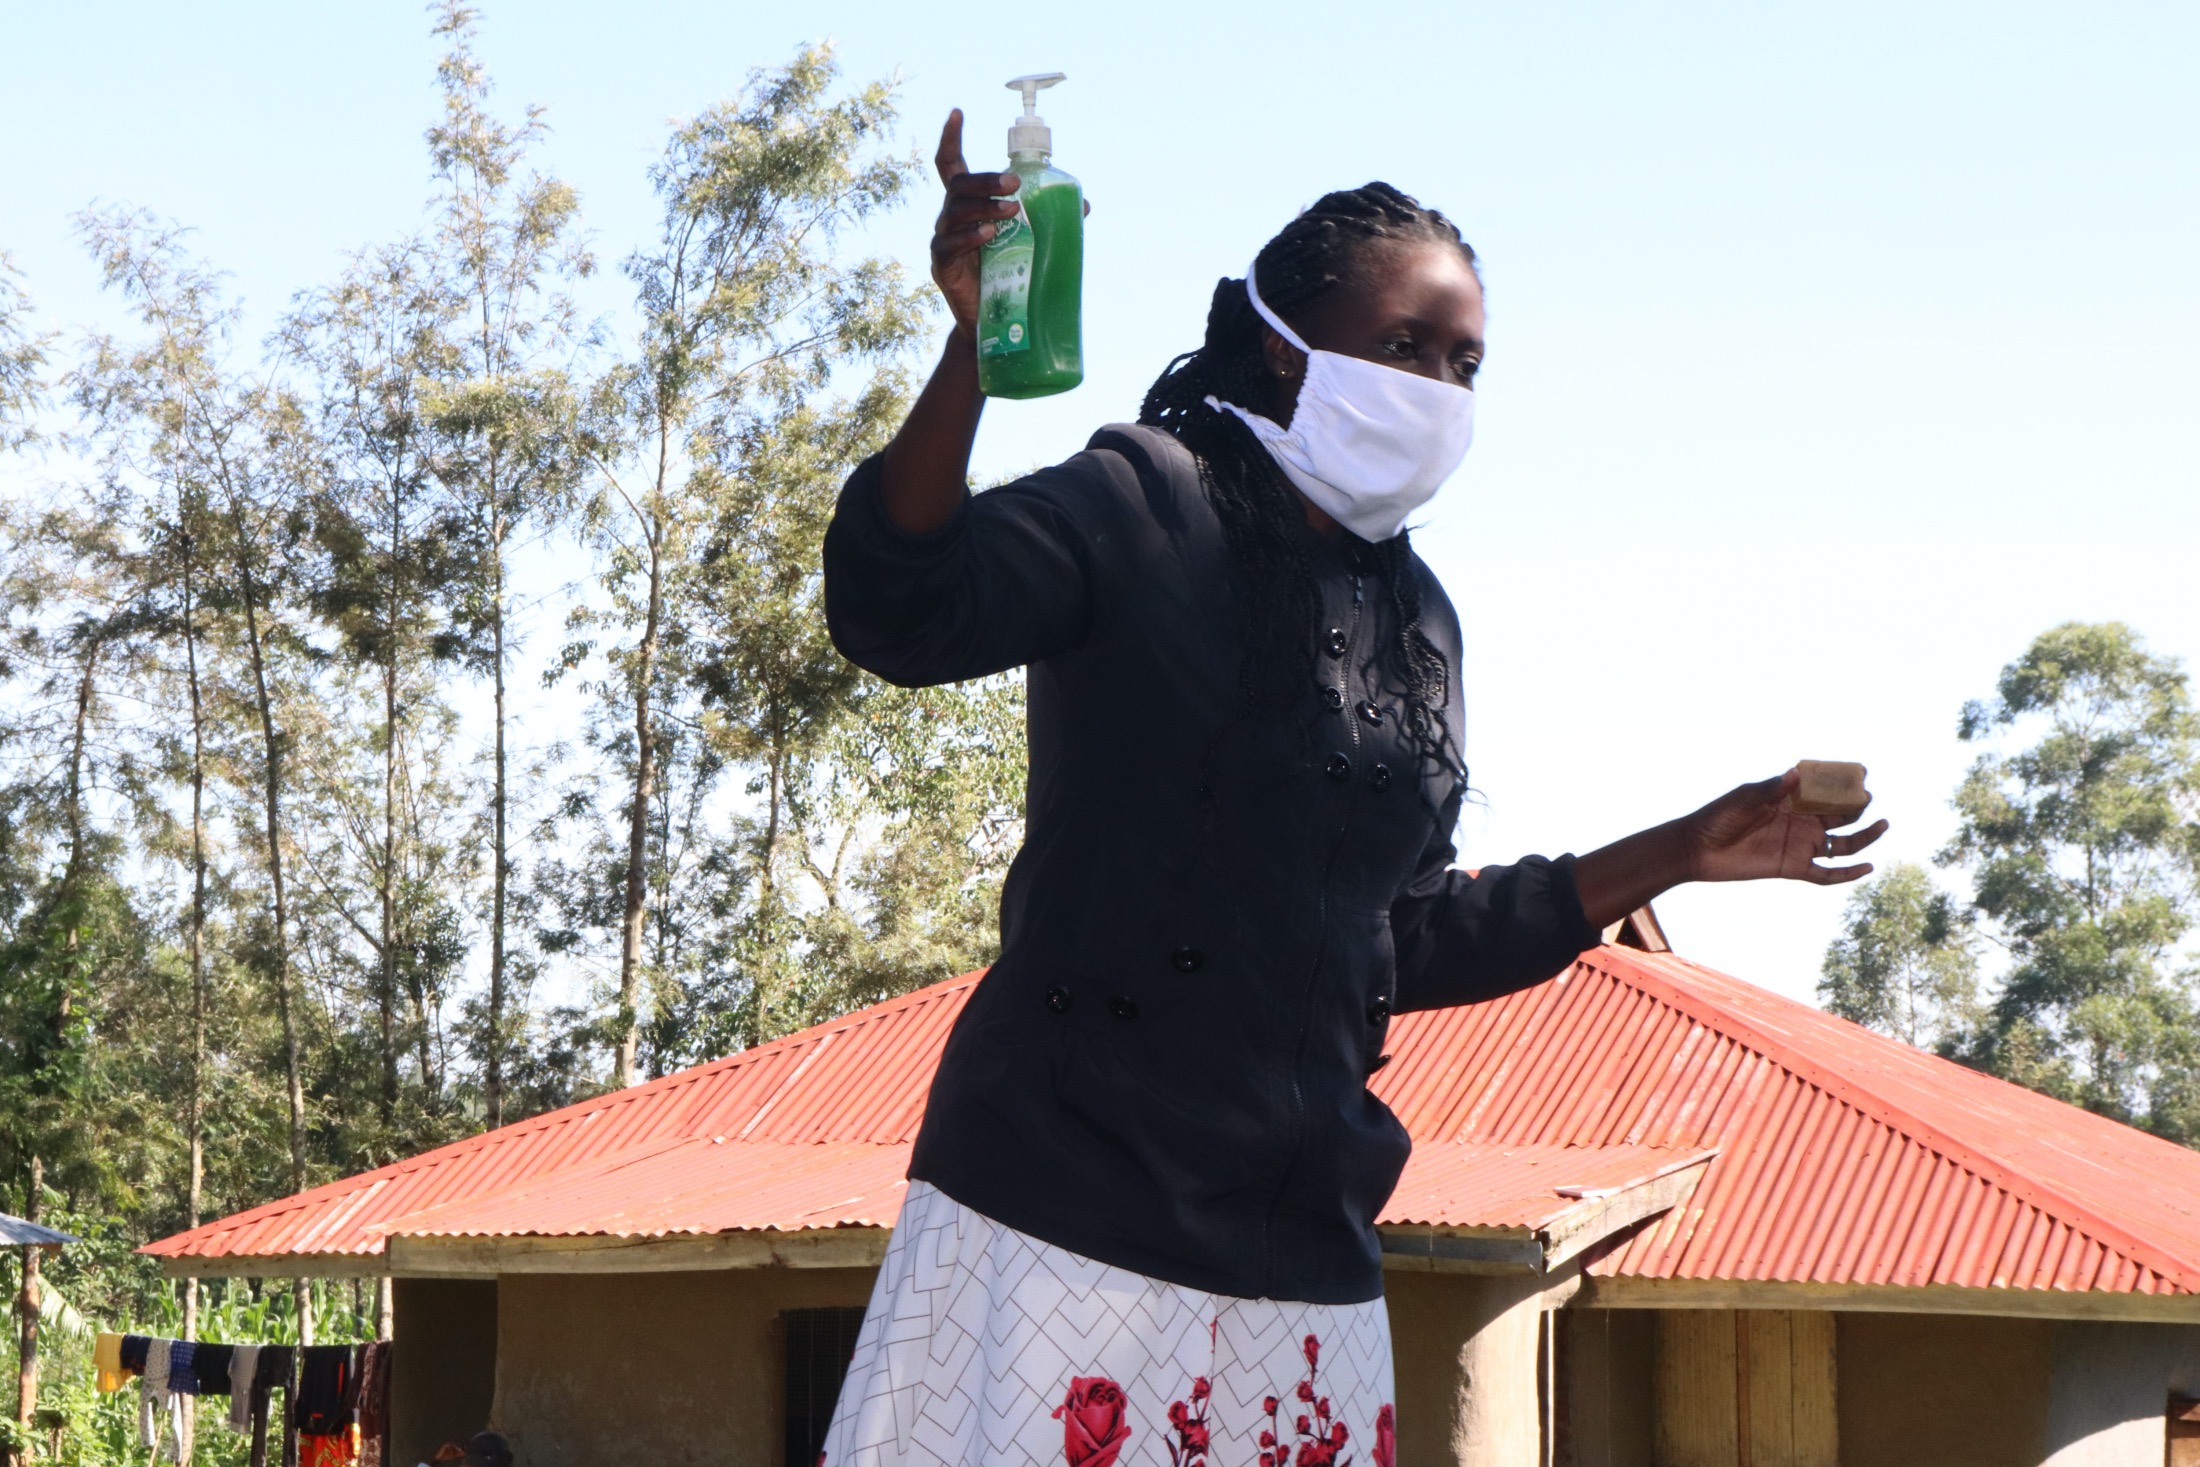
Trainer Shigali explains to community members in Buyangu Community, Mukhola Spring, Kenya, that bar soap is just as effective as liquid soap in handwashing. Some people in Kenya hear rumors that liquid soap, which is more expensive than bar soap, is more effective for handwashing, so our trainers are always keen on speaking the truth to this rumor.
If you are ready to wash your hands now, set your leaky tin up somewhere you can easily reach, like a counter or chair, and where it is okay for the ground below it to get wet. To avoid the damp ground and conserve water, consider placing a bowl or bucket beneath the leaky tin to catch the water from your handwashing. You can recycle this water to use for flowers or gardens, for example, if you are not using a harsh soap.
Be sure to have soap on hand next to your leaky tin – liquid or bar soap work equally well. With the nail plugged into the hole, fill your leaky tin with water.
A woman in Sasala Community, Kenya, fills her leaky tin with clean water from the spring.
Now you are ready to wash your hands! Briefly pull the nail out just to wet your hands, then quickly plug the nail back in and follow the 10 steps of handwashing above. When you are ready to rinse, pull the nail out again and set it nearby. Rinse your hands thoroughly, put the nail back in place if there is remaining water, and let hands air dry.
Mary Mulanda washing her hands using a leaky tin in her home of Litinye Community, Shivina Spring, Kenya
Experiment with different containers you find around the house. How small or large of a container do you need to hold enough water to effectively wash your hands? How can you set yourself up for success by keeping the soap nearby and having a spot to place the nail?
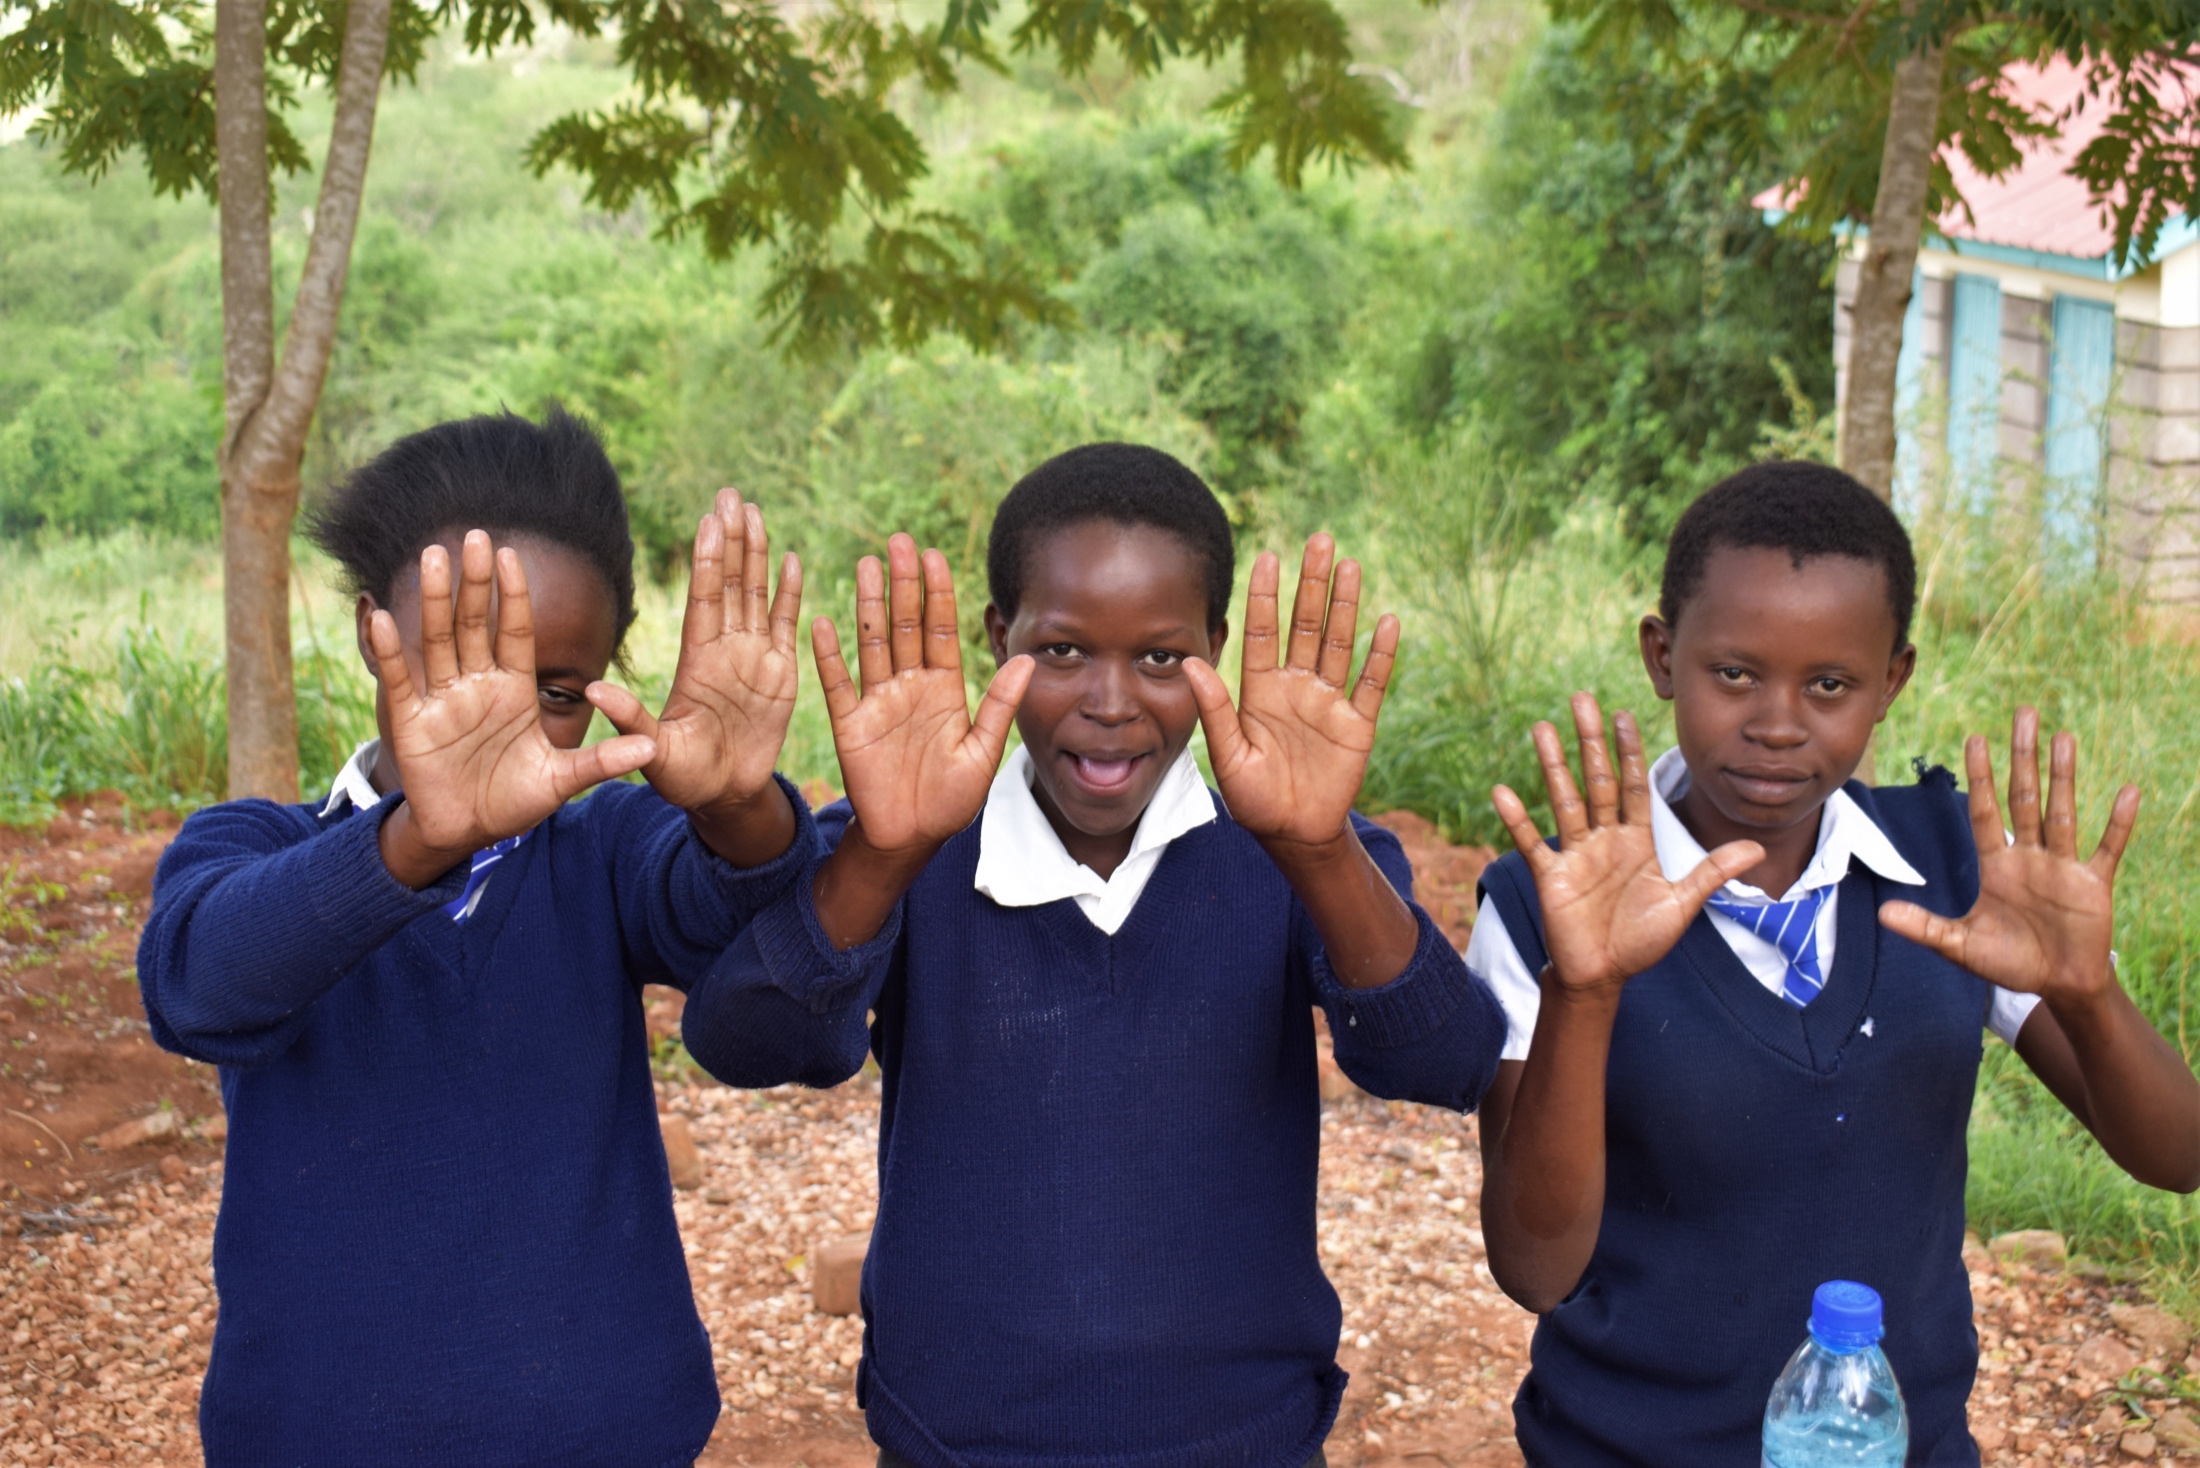
Students show off their clean hands after washing them at Kikuswi Secondary School, Kenya.
There are many adaptations to the leaky tin, which is one reason it is so widely used. You can use a twig instead of a nail; tie the leaky tin to a tree, fence, stand, or other structure; or even tie the plug to the container so it cannot be lost or dropped. Leaky tins are a very adaptable handwashing station open to the maker’s creativity.
Happy Handwashing!
Home More Like ThisTweet