September, 2020: Water Takes Shape at Jesse Spring
At The Water Project, we commit to our promise of ensuring safe, reliable water in every community we serve. And this promise doesn’t stop when we finish building a new water point. We continually monitor all of our water points to ensure their function and quality.
Following the global trend of climate change that is driving severe weather patterns to the extreme, last year in Kenya was one of the driest on record. As a result, we are seeing increased regional fluctuations in the water table. Since the completion of Jesse Spring in Ikonyero Community, we’ve found that the water sources feeding the spring have slowed, limiting the intended benefit of this protected water source. Though not common, this does happen occasionally.
Because of our commitment to people in this community (and the lasting impact that our supporters want to make), we decided to implement a new technology at Jesse Spring: a 1,000-liter reservoir tank.

The new reservoir tank at Jesse Spring
The reservoir tank fills overnight and is fitted with a tap to keep the water in place until it is needed come morning. While we expect the seasonal rains to recharge the spring and provide more water, the reservoir tank will enable Ikonyero community members to start each morning and evening with a ready water supply. The reservoir tank will help to ensure that the spring remains an accessible and reliable source of water even in seasons when the yield of the spring is lowest.

Community members celebrate the new reservoir tank (before physical distancing).
From Standard Spring to Reservoir Tank: A Step-By-Step Construction Process
As the ones depending on it for water, community members shared our concerns about the spring’s decreasing yield since its completion. Before we began any new construction, we worked closely with water users to explain the intended process and goal of the reservoir tank. Once the community reached a consensus on the new technology, they helped deliver locally available construction materials to the spring site.
These materials included bricks, sand, large rocks, and smaller stones. Some community members broke down stones by hand to create gravel. In addition, certain homes volunteered to cook food for the artisan and work team, while others volunteered their time as day laborers to assist the artisan. In exchange, our team provided the concrete, hardware, and an expert artisan to lead the construction. When everything was ready, we arrived in Ikonyero and began work.

Team Leaders and the artisan excavate the spring stairs and rub walls while diverting the spring water through a PVC pipe.
The reservoir tank construction process is very similar to the spring’s original construction. First, it was all hands on deck to excavate the site. We began by removing most of the external parts of the existing spring structure, including the stone pitching, cement drainage channel, and stairs. We also deepened and widened the spring’s drainage channel to create room for the new collection point, as the original spot becomes the site of the reservoir tank.

Regional Director Humphrey Buradi helps excavate the spring's drainage channel.
To allow continued water access during construction, and to avoid washing away the new work, we diverted the spring water for several days. We do this by either redirecting the water to the underground escape channels dug during the spring’s initial construction or by using a long PVC pipe that we connect to the discharge pipe and angle away from the work area.

Brickwork begins to build the reservoir tank's walls against the spring's headwall.
Some of the few key spring structures we keep intact are the headwall and wing walls. Originally forming the outermost walls of the spring’s access point, we turn these features into the interior back walls of the reservoir tank. In front of the headwall, we measure 1 meter wide by 1 meter high by 7.5 meters long to form the new tank.

Artisan plasters interior of reservoir tank walls.
Inside these measurements, we pour the tank’s concrete foundation using a mixture of cement, sand, gravel, and waterproof cement together with a mesh wire reinforcement. We then begin brickwork to join the new foundation to the headwall until the tank is 1 meter high. We fit the newly formed wall opposite the original headwall with a gate valve and an overflow pipe at 0.5-meter and 0.9-meter height, respectively.

Installing the gate valve at the new access point.
The gate valve is what community members will use to access water, similar to turning on a faucet at a sink. The overflow pipe serves to release water beyond the tank capacity, helping to prevent cracks and damage from too much pressure building up inside the tank.

Plastering the newly located stairs, access area, and rub walls.
Next, we plaster the tank both internally and externally to create a smooth finish. Upon completing the plasterwork, we wait 1 day for the tank walls to cure.
Once the reservoir tank walls are complete, we move on to one of the most important features of the tank: its cover, or top slab. First, we lay reinforcement steel across the reservoir tank walls, followed by iron sheets and a layer of the same concrete mixture used to create the tank’s foundation.

Steel bars laid across reservoir tank as it begins to fill with water.
This slab must be executed with precision; otherwise, weak points could lead to cracks and consequent contamination of the spring water beneath it. The top slab is then sealed to the tank walls with a unique type of mortar that can be removed for any future need to access the interior of the tank without having to break the slab.

Pouring the concrete top slab over the reservoir tank.
Nearing completion, we create a new drawing point in front of the gate valve. We place 4 new tiles on the floor to maintain the water point’s beauty and to help protect the cement from the erosive force of the water. On either side of the new collection point, we rebuild the cement drainage channel and its surrounding stone pitching. Finally, we construct a staircase next to the tank, connecting community members’ original path to the spring with the new collection area. The stairs enhance easy entry and exit from the spring after drawing water.

She was excited to check out the new reservoir tank.
The reservoir tank takes 2 days to set and cure before we allow the spring water to flow through it for use. Finally, after much anticipation, the reservoir tank is ready for use!


First he showed her how to turn the valve on and off. Then she wanted to fetch water all by herself!
Community members were thrilled to see the spring’s newly improved discharge rate of 36 seconds.

Field Officer Jonathan Mutain celebrates the spring's improved discharge speed.
As always, we will continue to monitor Jesse Spring just as we did before the reservoir tank. For now, we celebrate this new milestone in Ikonyero community members' access to safe, clean, and reliable water.

May, 2018: Ikonyero Community Project Complete
Ikonyero Community now has clean water! Jesse Spring has been transformed into a flowing source of clean water thanks to your donation. The spring is protected from contamination, five sanitation platforms have been provided for the community, and training has been done on sanitation and hygiene.
New Knowledge
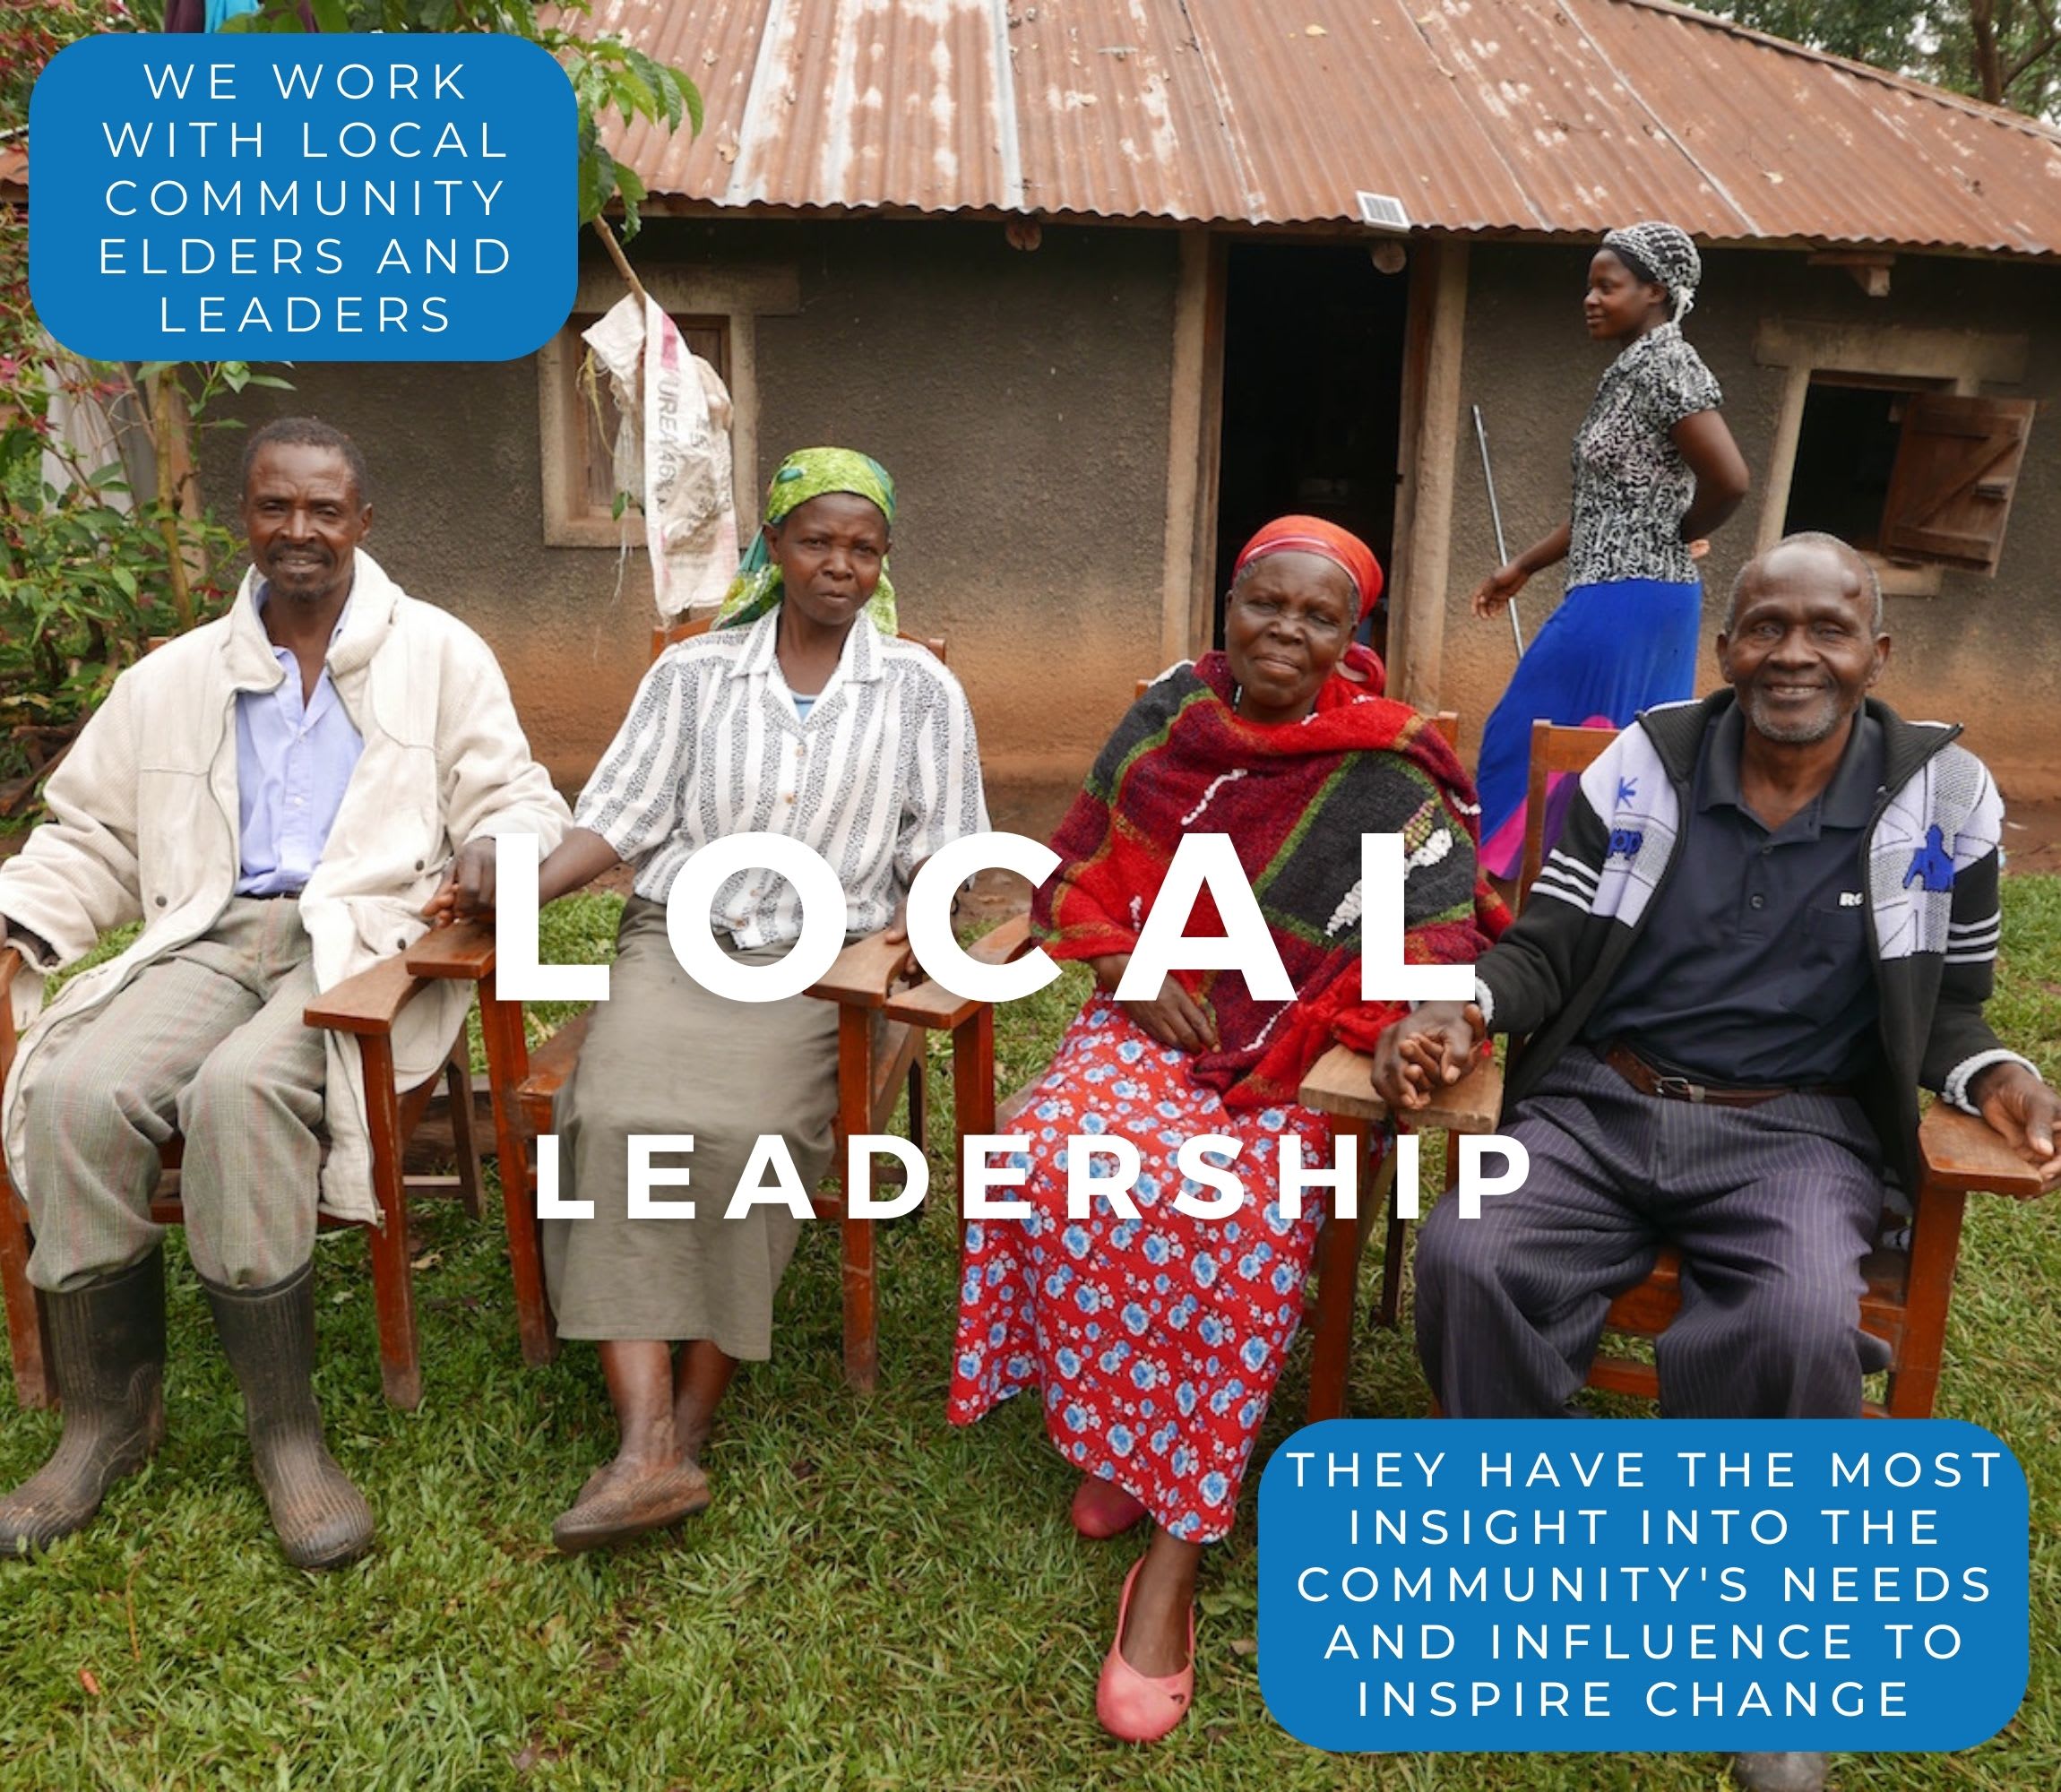
We worked together with Mr. Silas Munayi, our main contact person in Ikonyero. He gave us the community's preferred date for training, for he was very much aware of the community calendar when it comes to planting season and other big events.
We were expecting more than twenty participants to attend the training, but due to the fact that most Ikonyero residents travel to Lubao Market every day to sell wares and produce, we only trained 16 people. We held training just a few meters from Jesse Spring so that we could demonstrate care and management.
We covered several topics including leadership and governance; operation and maintenance of the spring; healthcare; family planning; immunizations; the spread of disease and prevention. We also covered water treatment methods, personal care like handwashing, environmental hygiene, hygiene promotion, and many other things.

Participants were particularly engaged in the session on handwashing. There are 10 steps to thoroughly wash one's hands, but Mr. Shikami said that following all 10 steps would only be possible if a person wasn't hungry! They had a chance to watch us demonstrate these steps and then practice them in front of the group.

"For me, most of the things you have taught us today are new to me. I have been doing contrary to all what I have learned today. I guess the challenges that I've had with my neck, and especially the waterborne diseases, are due to lack of this vital information," Mrs. Margaret Munayi said.
"Having the information now, I am sure I will not remain the same. May God bless you so much!"
Sanitation Platforms
All five sanitation platforms have been installed. These five families are happy about this milestone of having a private latrine of their own and are optimistic that people will no longer leave waste outdoors. We are continuing to encourage families to finish building walls and roofs over their new latrine floors.

Spring Protection
Community members provided all locally available construction materials, e.g bricks, wheelbarrows of clean sand, wheelbarrows of ballast, fencing poles and gravel. Accommodations and meals were provided for the artisan, too.

A man helping transport stones to the spring site.
Men and women lent their strength to the artisan to help him with manual labor. The spring area was excavated to create space for setting the foundation of polyethylene, wire mesh and concrete. After the base had been set, both wing walls and the headwall were set in place using brickwork. The discharge pipe was fixed low in place through the headwall to direct the water from the reservoir to the drawing area.

As the wing walls and headwall were curing, the stairs were set and ceramic tiles were fixed directly below the discharge pipe. This protects the concrete from the erosive force of the falling water and beautifies the spring. The process of plastering the headwall and wing walls on both sides reinforces the brickwork and prevents water from the reservoir from seeping through the walls and allows pressure to build in the collection box to push water up through the discharge pipe.

Halfway through filling the spring box with stones, gravel, and fine sand. This protects the water coming up from the ground.
The source area was filled up with clean stones and sand and covered with a polyethylene membrane to eliminate any potential sources of contamination. It took about two weeks of patience for the concrete to dry. As soon as it was ready, people got the okay from our field officers to begin fetching clean water. We met them there to celebrate this momentous occasion.
"The new water point looks very clean and very attractive to the eyes," Mr. Shikami said.
"This implies that the water is very clean, as there is no more direct entry of agents of contamination as it was before the protection of this spring. We are very grateful and honored for our spring's protection."

 Protected Spring
 Rehabilitation Project

